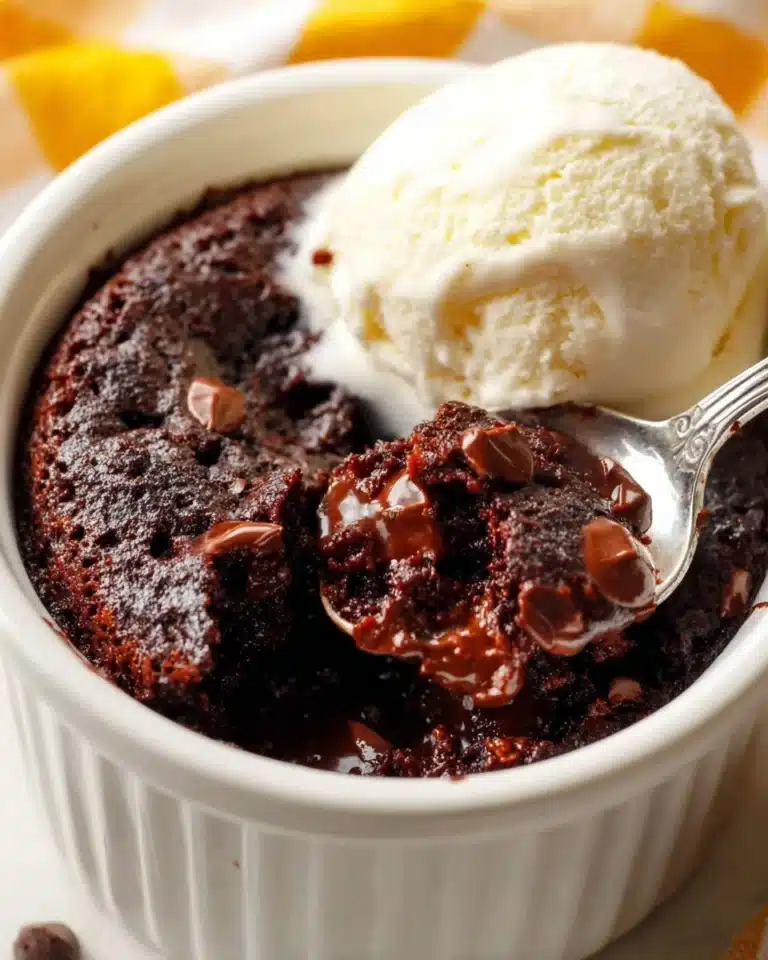
There is something undeniably comforting and indulgent about a creamy, luscious chocolate dessert that doesn’t require turning on the oven. The No Bake Chocolate Pudding Pie is that perfect sweet treat that combines rich chocolate flavor with a light, fluffy texture all nestled inside a crisp chocolate cookie crust. It is incredibly easy to prepare, delightfully delicious, and just the kind of dessert that feels like a warm hug on a plate. Whether you’re looking to impress guests or simply crave a chocolatey comfort food, this pie hits every note just right.

Ingredients You’ll Need
The ingredients for this No Bake Chocolate Pudding Pie are wonderfully simple but absolutely essential. Each one plays a crucial role in balancing flavors and textures, ensuring every bite is a satisfying delight that’s creamy, airy, and full of chocolate goodness.
- 2 3.9 oz Jell-O Instant Chocolate Pudding boxes: These provide the rich, smooth chocolate base that sets beautifully without baking.
- 2½ cups cold milk (2 percent or whole): Cold milk helps the pudding mix thicken properly for the perfect silky consistency.
- 8 oz tub Cool Whip: Adds a light, fluffy texture that contrasts the dense pudding layers perfectly.
- 1 6 oz chocolate cookie pie crust: Offers a crunchy, chocolaty foundation that complements the creamy filling.
- Chocolate bar (optional for decoration): Shaved chocolate on top adds an elegant finishing touch and a bit of extra chocolate flavor.
How to Make No Bake Chocolate Pudding Pie
Step 1: Prepare the Chocolate Pudding
Begin by combining the instant chocolate pudding mixes with the cold milk in a large mixing bowl. Whisk vigorously until the mixture thickens and becomes smooth. This step is key to achieving a silky texture that will hold its shape within the pie shell, setting the stage for the layers to come.
Step 2: Layer the First Pudding Base
Spoon half of the prepared pudding into the chocolate cookie pie crust and spread it evenly with a spatula. This layer forms the dense, flavorful foundation that contrasts beautifully with the lighter, whipped topping layers.
Step 3: Make the Fluffy Pudding Mixture
Take the remaining pudding in the bowl and fold it together with half of the Cool Whip. Stir gently until the mixture becomes light and fluffy, adding an airy dimension to the pie filling that complements the dense first layer perfectly.
Step 4: Add the Fluffy Pudding Layer
Spoon this fluffy pudding mixture on top of the first pudding layer and spread it evenly. This two-layer approach balances richness with lightness and creates a delightful texture contrast that makes every forkful exciting.
Step 5: Top It with Cool Whip
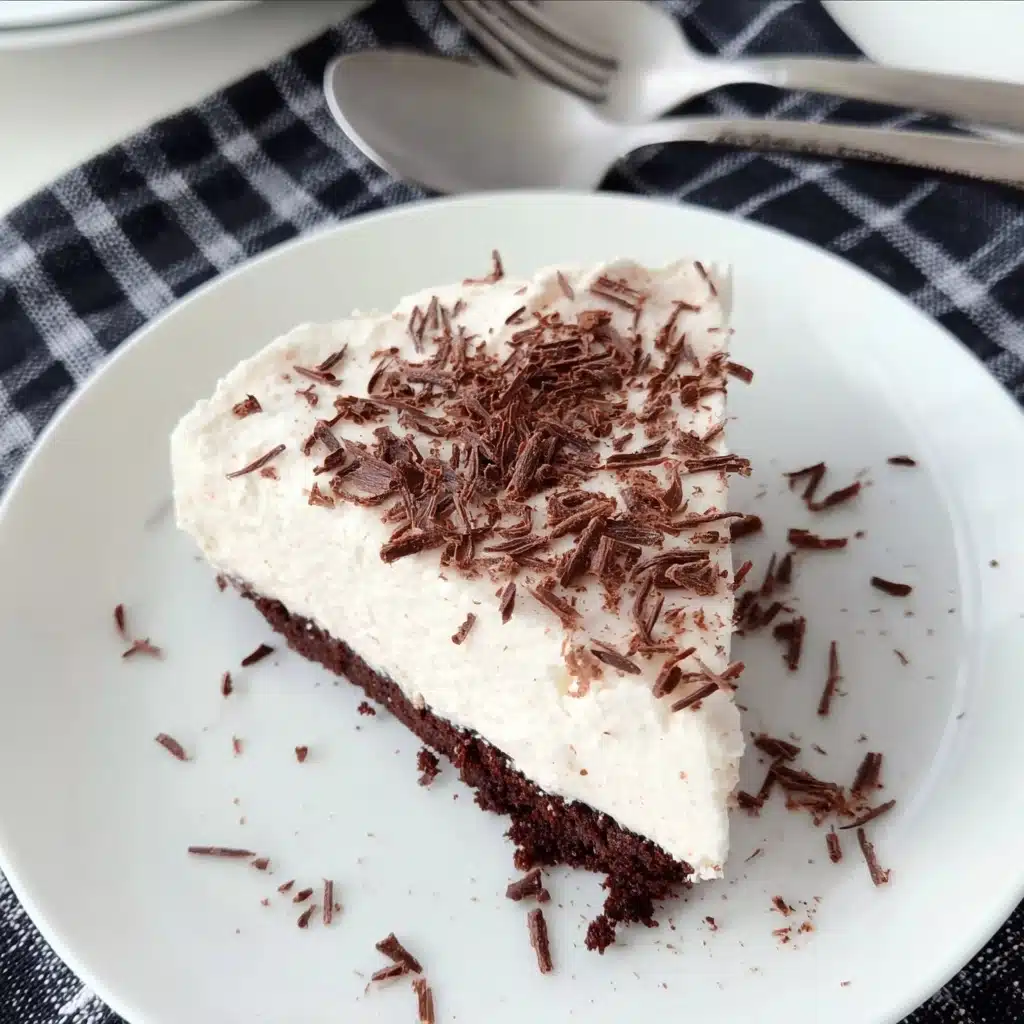
Finally, spread the remaining Cool Whip evenly over the top of the pie. If you want to get fancy, shave some chocolate bar over the surface for decoration, adding a touch of elegance and even more chocolate flavor.
Step 6: Chill and Set
Place the pie in the refrigerator and allow it to chill for at least a couple of hours, or until fully set. This resting time helps the pudding firm up and the flavors meld, resulting in a pie that cuts cleanly and tastes heavenly.
How to Serve No Bake Chocolate Pudding Pie
Garnishes
The No Bake Chocolate Pudding Pie is already stunning on its own, but garnishing it elevates the experience. Consider freshly shaved chocolate curls, a dusting of cocoa powder, or even a handful of chopped nuts for texture and a pop of color. Whipped cream swirls or fresh berries can also add freshness that contrasts beautifully with rich chocolate.
Side Dishes
This pie is rich enough to be a star on its own, but if you want to serve it alongside something, think light and bright. A crisp glass of cold milk, a cup of steaming coffee, or a scoop of vanilla ice cream can perfectly complement its chocolaty richness without overwhelming the palate.
Creative Ways to Present
If you’re feeling playful, slice the pie into small squares and serve in mini dessert cups for a fun twist on presentation. Layer with crushed cookies or fruit compotes for added texture and flavor dimensions. You can also personalize it by swirling in peanut butter or caramel sauce between the layers for a decadent variant.
Make Ahead and Storage
Storing Leftovers
Cover your leftover No Bake Chocolate Pudding Pie tightly with plastic wrap or place it in an airtight container and store it in the refrigerator. It will stay fresh and delicious for up to 3 days, maintaining its perfect creamy texture without drying out or becoming soggy.
Freezing
While freezing is possible, it’s best to avoid freezing this pie as the texture of the pudding and whipped topping may suffer. If you must freeze it, wrap it very well to prevent freezer burn and thaw it slowly in the refrigerator overnight before serving. Expect a slight change in texture after freezing.
Reheating
This dessert is best enjoyed cold and does not require reheating. Serving it chilled enhances its creamy layers and refreshing qualities, so keep it in the fridge until you’re ready to dive in.
FAQs
Can I use a homemade crust for the No Bake Chocolate Pudding Pie?
Absolutely! A homemade chocolate cookie crust or even a graham cracker crust will work beautifully. Just make sure it is firm and chilled before adding the pudding layers to keep the pie structure intact.
What if I don’t have Cool Whip? Can I use whipped cream instead?
Yes! Freshly whipped cream is a fantastic substitute and can add a richer taste. Just whip it to soft peaks and fold it gently into the pudding for that same fluffy texture.
How long does the pudding take to thicken?
When whisking the pudding and milk together, expect it to thicken within about 2 to 3 minutes. Make sure the milk is cold for the best results and whisk continuously for a smooth, lump-free pudding.
Is this pie suitable for kids?
Definitely! The No Bake Chocolate Pudding Pie is a family favorite and very kid-friendly. It’s not too sweet and has a fun, creamy texture that children love.
Can I make this pie ahead of a party?
Yes, making the pie at least a few hours ahead or even the day before a gathering is perfect. Just keep it refrigerated until serving to ensure it stays fresh and maintains its layers beautifully.
Final Thoughts
The No Bake Chocolate Pudding Pie is truly a magical recipe that combines simplicity, speed, and irresistible flavor into one indulgent dessert. It’s the kind of dish you’ll find yourself making again and again for its wonderful ease and impressive taste. Whether you’re serving it for a special occasion or just want a sweet pick-me-up, this pie will never disappoint. You simply have to try it and watch it become an instant favorite in your kitchen!
Print
No Bake Chocolate Pudding Pie Recipe
- Total Time: 2 hours 15 minutes
- Yield: 8 servings
- Diet: Vegetarian
Description
This No Bake Chocolate Pudding Pie is a rich, creamy dessert featuring layers of instant chocolate pudding and whipped topping in a chocolate cookie crust. Quick to assemble and chilled to perfection, it’s an easy and indulgent treat perfect for any occasion.
Ingredients
Pudding Layer
- 2 (3.9 oz) boxes Jell-O Instant Chocolate Pudding
- 2½ cups cold milk (2% or whole)
Whipped Topping Layer
- 8 oz tub Cool Whip
Pie Crust and Decoration
- 1 (6 oz) chocolate cookie pie crust
- Chocolate bar (optional, for decoration)
Instructions
- Prepare Pudding: In a large mixing bowl, whisk together the instant chocolate pudding mix and cold milk until well combined and thickened. This usually takes about 2 minutes.
- Layer Bottom Pudding: Spoon half of the prepared chocolate pudding evenly into the bottom of the chocolate cookie pie crust, smoothing it out with a spatula.
- Mix Whipped Topping and Pudding: Add half of the Cool Whip tub to the remaining pudding in the bowl. Stir gently until the mixture is well combined and becomes light and fluffy.
- Layer Whipped Pudding: Spoon the whipped topping and pudding mixture evenly over the layer of plain pudding in the crust and spread with a spatula for a smooth finish.
- Add Final Whipped Topping Layer: Spoon the remaining Cool Whip evenly on top of the second pudding layer. For an elegant touch, shave chocolate from a chocolate bar over the top as decoration, if desired.
- Chill Pie: Place the pie in the refrigerator and chill for at least 2 hours or until firm before serving.
Notes
- Use cold milk to help the pudding set properly.
- For a firmer pie, allow chilling for longer than 2 hours.
- Chocolate shavings on top add a nice decorative touch but are optional.
- Substitute Cool Whip with homemade whipped cream for a fresher taste.
- This pie is best enjoyed within 2 days of preparation.
- Prep Time: 15 minutes
- Cook Time: 0 minutes
- Category: Dessert
- Method: No Bake
- Cuisine: American
Nutrition
- Serving Size: 1 slice (1/8 of pie)
- Calories: 290 kcal
- Sugar: 22 g
- Sodium: 150 mg
- Fat: 16 g
- Saturated Fat: 8 g
- Unsaturated Fat: 6 g
- Trans Fat: 0 g
- Carbohydrates: 33 g
- Fiber: 2 g
- Protein: 4 g
- Cholesterol: 15 mg