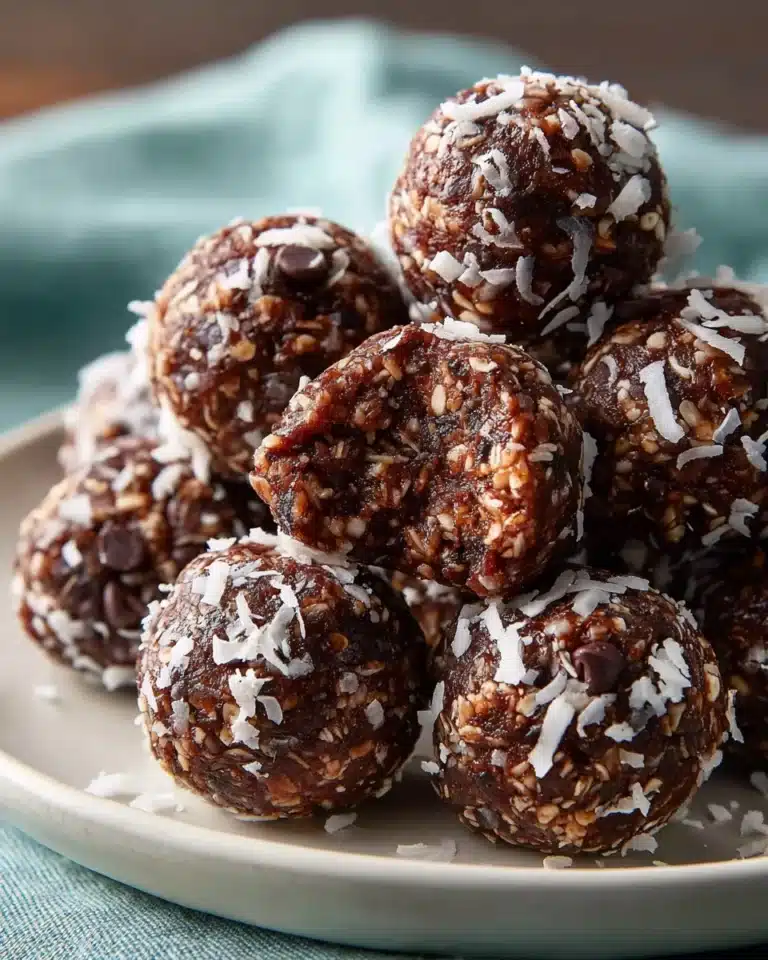
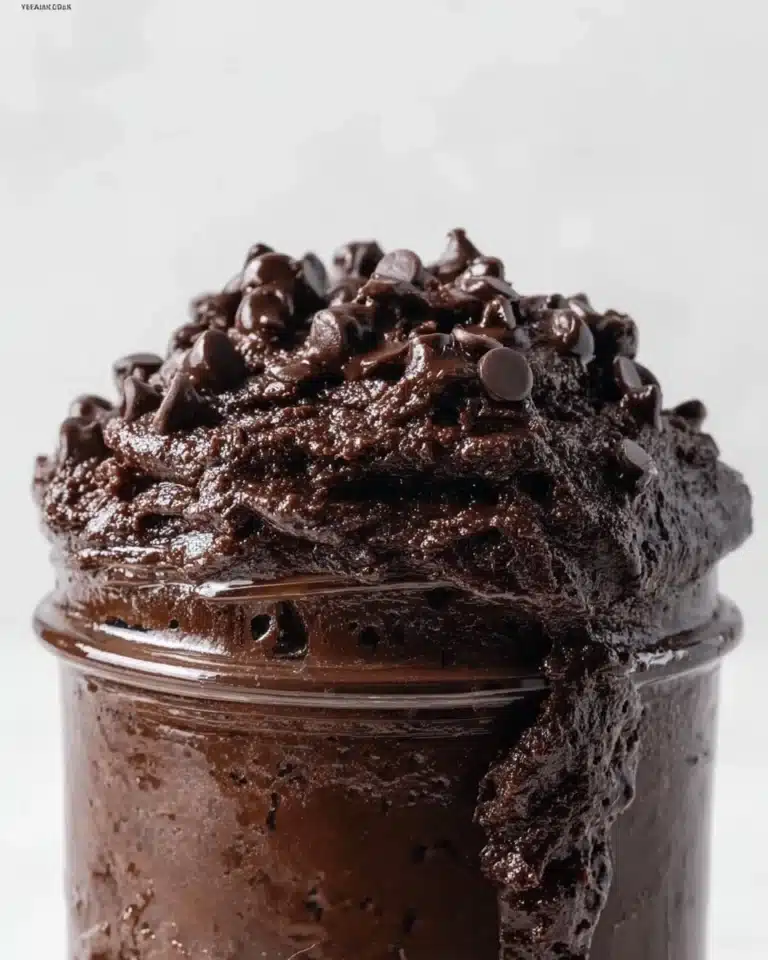
If you’re craving that perfect blend of creamy, rich, and melt-in-your-mouth goodness, let me introduce you to the joy of making Homemade Milk Chocolate. This delightful treat is surprisingly simple to create, allowing you to control the sweetness, texture, and flavor while avoiding any mysterious additives. Whether you want to enjoy it as a personal snack, gift it to a loved one, or use it as a decadent baking ingredient, this recipe opens up a world of delicious possibilities that you can proudly call your own.
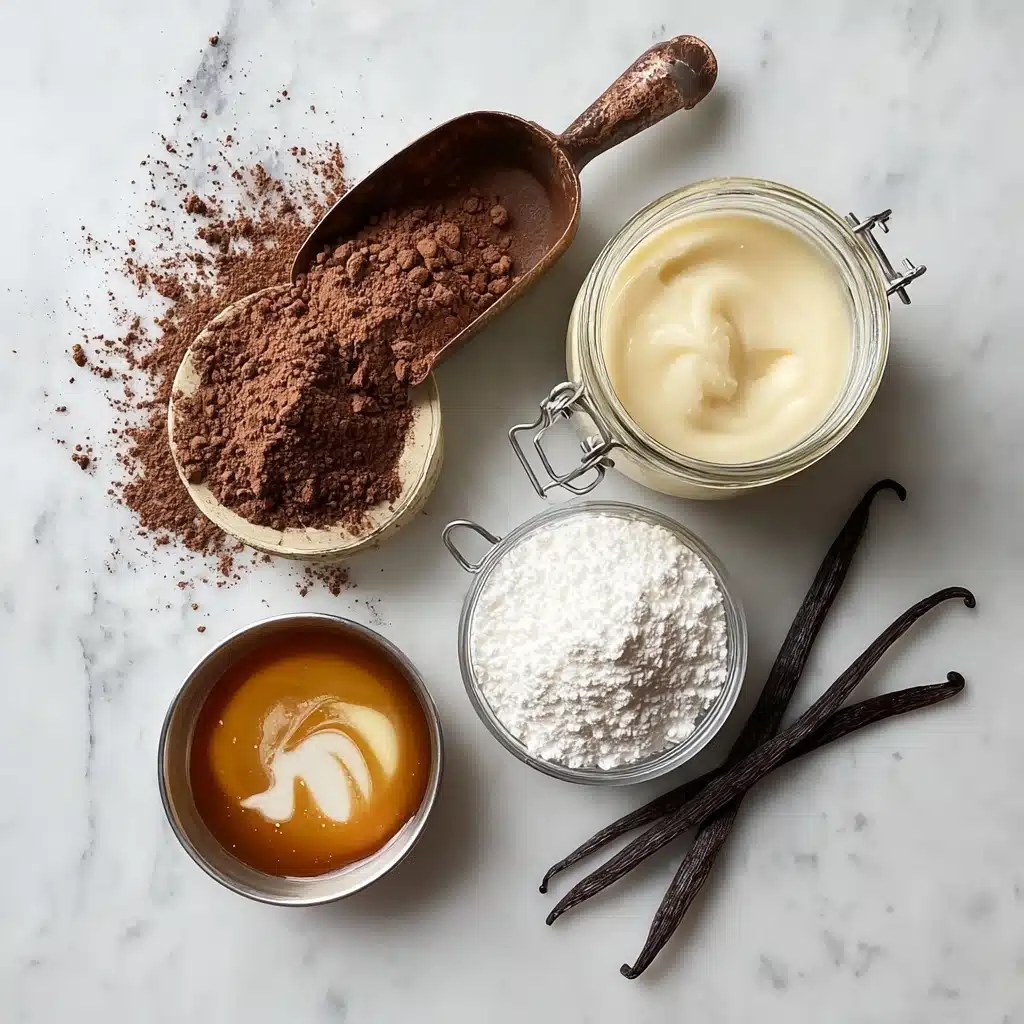
Ingredients You’ll Need
Creating Homemade Milk Chocolate calls for just a handful of simple ingredients, each carefully chosen to deliver that classic, velvety texture and luscious taste. Every element plays its part: the cocoa powder brings depth and chocolatey richness, powdered sugar adds the perfect amount of sweetness, milk powder infuses creaminess, and coconut oil or cocoa butter provides that smooth melt you crave. A splash of vanilla enhances the overall harmony of flavors.
- ½ cup cocoa powder unsweetened, high-quality: Use the best you can find for deep chocolate flavor without bitterness.
- ½ cup powdered sugar: Adjust according to your preferred sweetness level for personalized indulgence.
- ½ cup milk powder, full-fat: The secret to that creamy, smooth mouthfeel unique to milk chocolate.
- ¼ cup coconut oil or cocoa butter, melted: This fat adds silkiness and helps the chocolate set perfectly.
- 1 tsp vanilla extract (optional): Adds warmth and enhances the chocolate’s natural flavor.
How to Make Homemade Milk Chocolate
Step 1: Set Up Your Double Boiler
Start by filling a pot with about 1 to 2 inches of water and bringing it to a gentle simmer. Place a heatproof bowl on top of the pot, making sure it doesn’t touch the water. This double boiler method is essential because it melts the fats slowly and evenly—avoiding any scorching or burning that can ruin your chocolate.
Step 2: Melt Your Fat Base
Into the heatproof bowl, add your coconut oil or cocoa butter. Stir occasionally as it melts completely into a smooth, glossy liquid. This step forms the buttery foundation that makes your homemade milk chocolate luxuriously smooth.
Step 3: Combine the Dry Ingredients
While the fat is melting, sift together the cocoa powder, powdered sugar, and milk powder. Sifting is key to remove any lumps and to help everything incorporate effortlessly when mixed with the melted fats.
Step 4: Mix the Dry and Wet Ingredients
Gradually add your dry mixture to the melted coconut oil or cocoa butter, stirring constantly to create an even, glossy chocolate batter. If you’re using vanilla extract, add it now to fold in those inviting aromatic notes seamlessly.
Step 5: Mold and Chill
Pour the silky chocolate mixture into a lined mold or tray. Tap gently on your countertop to release any trapped air bubbles that could make the texture uneven. Place the mold in the refrigerator and chill for about 1 to 2 hours, or until completely firm.
Step 6: Ready to Enjoy
Before serving, allow the chocolate to rest at room temperature for 5 to 10 minutes. This little step softens the surface, revealing the richest, creamiest texture that makes homemade milk chocolate an irresistible treat.
How to Serve Homemade Milk Chocolate

Garnishes
Enhance your Homemade Milk Chocolate with garnishes that add fun textures or complementary flavors. Think crushed nuts like almonds or hazelnuts sprinkled on top, a sprinkle of sea salt to balance the sweetness, or even dried fruit pieces like cherries or raspberries for a vibrant, tart contrast.
Side Dishes
Pairing your homemade chocolate with simple sides can elevate your dessert experience. Try serving it alongside fresh strawberries, a dollop of whipped cream, or a warm cup of spiced coffee or chai. These accompaniments complement the creamy chocolate’s sweetness and provide a delightful balance.
Creative Ways to Present
Present your chocolate in fun and creative ways by molding it into bite-sized shapes, decorating small gift boxes for friends, or drizzling it over brownies or cakes as a luscious finishing touch. Wrapping individual pieces in colorful foil makes for charming party favors or sweet gifts that impress.
Make Ahead and Storage
Storing Leftovers
The beauty of Homemade Milk Chocolate is that it stores beautifully. Keep leftovers in an airtight container in a cool, dry place away from direct sunlight. Stored properly, your chocolate will stay fresh and scrumptiously smooth for up to two weeks.
Freezing
Want to keep your homemade chocolate longer? Wrap each piece tightly in parchment paper and place them in a freezer-safe bag. Frozen milk chocolate can last up to three months. When ready to enjoy, transfer to the fridge and then room temperature to thaw gradually—this maintains texture and flavor integrity.
Reheating
It’s best to avoid reheating homemade milk chocolate as it may cause graininess or separation. If you want to use it for baking or melting, gently warm it using the double boiler method while stirring constantly to retain that silky finish.
FAQs
Can I substitute coconut oil with butter?
Butter can be used but it’s not ideal since it contains water, which may cause the chocolate to seize or develop a grainy texture. Coconut oil or cocoa butter keeps the chocolate smoother and extends shelf life.
Is powdered milk essential, or can I use liquid milk?
Powdered milk is necessary for this recipe because it blends smoothly with cocoa and sugar, creating the creamy texture characteristic of milk chocolate. Liquid milk would add moisture and alter the consistency, potentially ruining the chocolate.
How can I make my chocolate sweeter or less sweet?
Since you control the amount of powdered sugar, you can easily adjust sweetness by adding more or less before mixing. Start with less sugar and taste to reach your preferred flavor balance.
Can I add flavors like mint or coffee?
Absolutely! Adding a few drops of peppermint extract or instant coffee granules to the melted fats before mixing the dry ingredients can create exciting flavor twists. Just be sure not to overpower the chocolate’s rich taste.
What type of molds work best for this chocolate?
Silicone molds are ideal because they’re flexible and make removing finished chocolates easy without breaking. You can also use small baking trays lined with parchment paper if you prefer to cut the chocolate into bars or squares.
Final Thoughts
Making your own Homemade Milk Chocolate is such a rewarding and fun kitchen adventure. It’s comforting to know exactly what’s inside each bite, and the creamy richness you create from scratch is truly unbeatable. Once you try this recipe, I promise it will become a beloved staple in your dessert repertoire. So go ahead, whisk it all together, chill it to perfection, and savor every blissful mouthful—you’ve earned it!
Print
Homemade Milk Chocolate Recipe
- Total Time: 2 hours
- Yield: 8 pieces
- Diet: Vegetarian
Description
This creamy, rich homemade milk chocolate recipe is delightfully smooth and easily customizable. Made with simple, high-quality ingredients like cocoa powder, milk powder, and coconut oil or cocoa butter, it’s quick to prepare and perfect for gifting, baking, or enjoying as a snack.
Ingredients
Chocolate Base
- ½ cup unsweetened high-quality cocoa powder
- ½ cup powdered sugar (adjust to taste)
- ½ cup full-fat milk powder
- ¼ cup coconut oil or cocoa butter, melted
Flavoring
- 1 tsp vanilla extract (optional)
Instructions
- Prepare the Double Boiler: Fill a pot with 1 to 2 inches of water and bring it to a gentle simmer. Place a heatproof bowl on top of the pot, ensuring it doesn’t touch the water, to create a double boiler setup.
- Melt the Fat: Add the coconut oil or cocoa butter to the heatproof bowl and stir occasionally until completely melted and smooth.
- Sift Dry Ingredients: In a separate bowl, sift together the cocoa powder, powdered sugar, and milk powder to eliminate lumps and create an even texture.
- Combine Ingredients: Gradually add the sifted dry mix to the melted coconut oil or cocoa butter, stirring constantly to blend until you achieve a smooth, homogenous chocolate mixture. Stir in the vanilla extract if using.
- Mold the Chocolate: Pour the chocolate mixture into a lined mold or tray. Gently tap the mold on the counter to release any trapped air bubbles for a smooth finish.
- Set the Chocolate: Refrigerate the mold for 1 to 2 hours until the chocolate is firm. Before serving, allow it to sit at room temperature for 5 to 10 minutes to soften for the best texture.
Notes
- Use high-quality, unsweetened cocoa powder for the richest flavor.
- Adjust powdered sugar quantity to your preferred sweetness.
- Substitute coconut oil with cocoa butter for a more authentic chocolate flavor and firmer texture.
- Ensure the milk powder is full-fat to maintain creaminess.
- Store homemade chocolate in a cool, dry place or refrigeration if your environment is warm.
- Letting chocolate rest at room temperature before eating improves mouthfeel and flavor release.
- Prep Time: 10 minutes
- Cook Time: 5 minutes
- Category: Dessert, Snack
- Method: Double Boiler Melting
- Cuisine: International – Classic Milk Chocolate
Nutrition
- Serving Size: 1 piece (approx. 25g)
- Calories: 210 kcal
- Sugar: 15g
- Sodium: 5mg
- Fat: 14g
- Saturated Fat: 12g
- Unsaturated Fat: 2g
- Trans Fat: 0g
- Carbohydrates: 18g
- Fiber: 2g
- Protein: 2g
- Cholesterol: 0mg