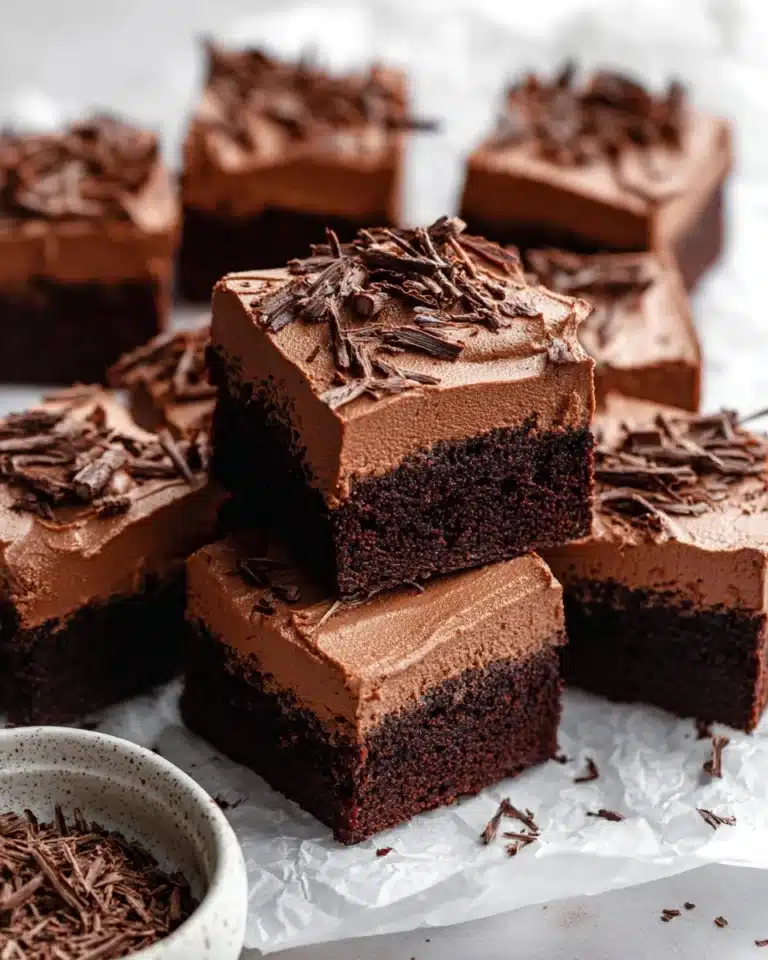
There is something truly comforting and timeless about an Old Fashioned Chocolate Pie Recipe that calls for simple ingredients yet delivers a rich, creamy indulgence that feels like a warm hug from the past. This pie combines velvety chocolate filling with a crisp crust, creating a perfect harmony of texture and flavor. If you crave a dessert that takes you back to cherished family gatherings or sunny afternoons with a slice in hand, this recipe is a wonderful way to bring classic charm right into your kitchen.
Ingredients You’ll Need

This Old Fashioned Chocolate Pie Recipe relies on straightforward, pantry-friendly ingredients that come together beautifully to create a luscious pie filling. Each item plays an essential role, whether it’s thickening the filling, adding that unmistakable chocolate depth, or contributing smooth creaminess.
- 6 tablespoons flour: Acts as the thickening agent that gives the pie its signature creamy yet firm texture.
- 3 tablespoons cocoa powder: Provides that deep chocolate flavor without overpowering, balanced and rich.
- 1 cup sugar: Sweetens the filling just right, enhancing the chocolate without making it too sugary.
- 3 egg yolks: Adds richness and helps to create a smooth, custard-like consistency.
- 2 cups milk: The base liquid that keeps the filling silky and light, avoiding heaviness.
- 1 teaspoon vanilla extract: Brightens the pie with warm, fragrant notes that complement the chocolate perfectly.
- 1 prepared pie crust (frozen or refrigerated): Provides a buttery, flaky base that’s easy to prepare and bakes to golden perfection.
How to Make Old Fashioned Chocolate Pie Recipe
Step 1: Prepare Your Pie Crust
Start by baking your frozen or refrigerated pie crust according to the package instructions. This is the foundation of your pie, so make sure to bake it until it’s golden and crisp to contrast beautifully with the creamy filling.
Step 2: Combine Dry Ingredients
In a medium bowl, sift together the flour, cocoa powder, and sugar. Sifting ensures there are no lumps and gives an even blend, which is key for a smooth filling.
Step 3: Mix in Egg Yolks
Beat the egg yolks into the dry mixture until fully incorporated. This step thickens the mixture and enriches the chocolate flavor, setting the stage for that luscious texture.
Step 4: Slowly Stir in Milk
Pour the milk in gradually while stirring continuously. Adding the milk slowly prevents lumps and helps the filling become perfectly smooth as it cooks.
Step 5: Cook the Mixture
Transfer the mixture to a medium saucepan and cook over medium heat. Stir constantly until it thickens into a rich, pudding-like consistency—this usually takes several minutes but is well worth the patience.
Step 6: Add Vanilla and Combine
Remove the saucepan from the heat and stir in the vanilla extract. This final touch amplifies the pie’s aroma and balances the chocolate’s richness with its warm sweetness.
Step 7: Assemble and Chill
Pour the silky chocolate filling into your pre-baked pie crust. Cover and chill in the refrigerator for at least an hour, or up to 24 hours if you want it to set perfectly and the flavors to meld beautifully.
How to Serve Old Fashioned Chocolate Pie Recipe

Garnishes
Nothing elevates this classic pie like a dollop of freshly whipped cream or a sprinkle of shaved chocolate on top. You can also add toasted nuts for a little crunch and contrast, turning each bite into a delightful experience.
Side Dishes
Pair your pie with a bright, lightly sweetened fruit salad or a scoop of vanilla bean ice cream to cut through the richness. These simple sides complement the dense chocolate filling and keep the whole dessert feeling light and balanced.
Creative Ways to Present
For a fun twist on this Old Fashioned Chocolate Pie Recipe, serve slices in individual glass dishes topped with berries or drizzle some caramel sauce over the top for extra sweetness. You can even dust a bit of powdered sugar or cinnamon to add visual appeal and flavor complexity.
Make Ahead and Storage
Storing Leftovers
This pie keeps beautifully in the refrigerator for up to three days. Just cover it well to prevent it from absorbing any fridge odors. The flavor actually deepens after resting, making the leftovers just as enjoyable—if not more so—as the first serving.
Freezing
If you want to save some for later, you can freeze the pie. Wrap it tightly to prevent freezer burn, and thaw it overnight in the fridge before serving. While the texture may soften slightly, the flavors remain rich and satisfying.
Reheating
Since this pie is best served chilled, reheating isn’t typically recommended. However, if you prefer it warm, gently heat individual slices in the microwave just for a few seconds to bring the chocolate to a slightly softer consistency without losing that classic pie feel.
FAQs
Can I use regular unsweetened cocoa powder instead of Dutch-processed?
Absolutely! The recipe adapts well to whatever unsweetened cocoa powder you have on hand, though Dutch-processed will give a milder, less acidic taste. Regular cocoa has a more intense flavor but both work perfectly in this Old Fashioned Chocolate Pie Recipe.
Is it necessary to use egg yolks only, or can I use whole eggs?
Egg yolks are preferred because they enrich and thicken the filling without making it rubbery. Whole eggs might alter the texture and make the pie firmer, so sticking to yolks is best for that silky smooth finish.
Can I make the pie crust from scratch instead of using a store-bought one?
Of course! Homemade pie crust adds a wonderful personal touch and buttery flavor. Just be sure it’s fully baked and cooled before you fill it with the chocolate mixture.
What if the filling gets lumpy while cooking?
To avoid lumps, stir constantly while cooking and add the milk slowly. If lumps do form, whisk vigorously or strain the filling before pouring it into the crust.
Can I add any other flavors to this chocolate pie?
Definitely! A splash of coffee or espresso powder can enhance the chocolate, or a pinch of cinnamon can add warmth. For a boozy twist, a tablespoon of bourbon or peppermint extract can be fun additions.
Final Thoughts
There’s a real magic in baking this Old Fashioned Chocolate Pie Recipe that turns simple ingredients into a beautifully nostalgic dessert everyone will love. Whether you’re making it for a special occasion or a cozy family night, I encourage you to give it a try and enjoy every spoonful of that creamy chocolate goodness. Trust me, this pie has a way of becoming a beloved staple before you know it!
Print
Old Fashioned Chocolate Pie Recipe
- Total Time: 1 hour 20 minutes
- Yield: 8 servings
Description
This classic Old Fashioned Chocolate Pie is a rich and creamy dessert featuring a smooth chocolate custard filling set in a flaky pie crust. Perfectly balanced with the deep flavors of cocoa and vanilla, this recipe is a nostalgic favorite that chills to a luscious, sliceable consistency.
Ingredients
Pie Crust
- 1 frozen or refrigerated pie crust
Chocolate Filling
- 6 tablespoons flour
- 3 tablespoons cocoa powder
- 1 cup sugar
- 3 egg yolks
- 2 cups milk
- 1 teaspoon vanilla extract
Instructions
- Prepare Pie Crust: Start by preparing the frozen or refrigerated pie crust according to the package directions, usually requiring pre-baking to ensure a firm base for the filling.
- Mix Dry Ingredients: In a medium bowl, sift together the flour, cocoa powder, and sugar to break up any lumps and combine the ingredients evenly.
- Incorporate Egg Yolks: Add the egg yolks to the dry mixture and mix until fully combined, forming a smooth batter.
- Add Milk Slowly: Gradually pour in the milk in small amounts while stirring constantly to prevent lumps and to create a smooth mixture.
- Cook Filling: Transfer this mixture to a medium saucepan and cook over medium heat, stirring frequently, until the mixture thickens to a custard-like consistency, which usually takes about 8-10 minutes.
- Add Vanilla: Remove the saucepan from heat and stir in the vanilla extract thoroughly to infuse flavor.
- Fill Pie Crust and Chill: Pour the cooked chocolate filling into the prepared pie crust and place it in the refrigerator. Chill for at least 1 hour and up to 24 hours to allow the filling to set firmly.
- Storage: Store any leftover pie in the fridge for up to three days, covered tightly to maintain freshness.
Notes
- Pre-baking the pie crust prevents sogginess from the filling.
- Stir the custard constantly while cooking to avoid lumps or burning.
- For a richer flavor, use whole milk or add a tablespoon of butter after removing from heat.
- You can garnish the pie with whipped cream or shaved chocolate before serving for extra indulgence.
- Ensure the pie is well chilled before slicing for clean cuts.
- Prep Time: 15 minutes
- Cook Time: 20 minutes
- Category: Dessert
- Method: Stovetop
- Cuisine: American