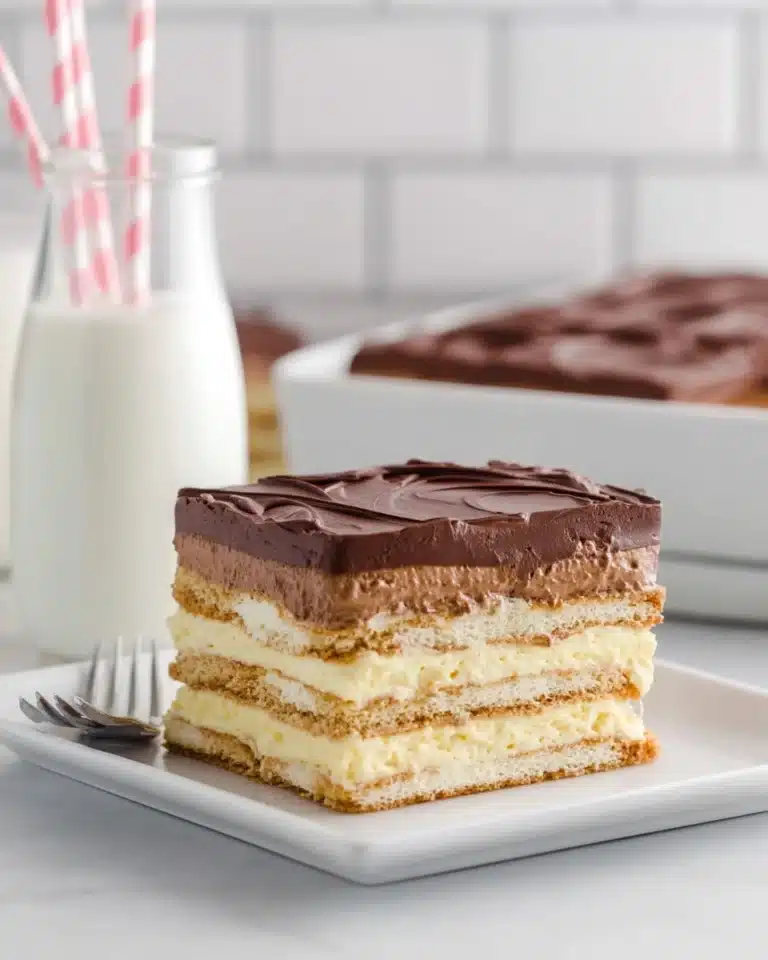
If you’re searching for a nostalgic treat that brings back those cherished cafeteria memories, you need to try the Lunch Lady Brownies Recipe. These brownies capture the perfect balance of rich chocolatey flavor and a moist, tender crumb that makes every bite utterly irresistible. The crowning glory is a luscious chocolate frosting sprinkled with joyful rainbow sprinkles, creating a fun, homemade delight that’s sure to brighten up any day. Whether you’re baking for a crowd or simply want a cozy snack, this recipe delivers classic comfort in every square.
Ingredients You’ll Need

The magic behind these brownies is surprisingly simple but thoughtfully balanced. Each ingredient plays a critical role, from the smooth texture delivered by the melted butter and vegetable oil to the deep cocoa flavor and the perfect sweetness from both granulated and brown sugars. Let’s check out the essentials that make this recipe shine.
- Unsalted butter (1 cup, melted): Adds rich creaminess and a smooth base for the brownie batter.
- Vegetable oil (2 tbsp): Keeps the brownies moist and tender without weighing them down.
- Unsweetened cocoa powder (1/2 cup plus 1/4 cup for frosting): Brings that intense chocolatey depth—in both the brownie and frosting.
- Salt (1/2 tsp plus a pinch for frosting): Enhances all the flavors and balances the sweetness.
- All-purpose flour (2 cups): Provides structure and the perfect chewy texture.
- Granulated sugar (1 cup): Offers sweetness and helps create a nice crust on top.
- Dark brown sugar (1 cup, packed): Adds moisture and a subtle caramel undertone.
- Large eggs (4, room temperature): Bind everything together while contributing to that fudgy texture.
- Vanilla extract (1 tbsp for batter, 1 tsp for frosting): Introduces a warm, aromatic note that rounds out the flavors beautifully.
- Unsalted butter (1/4 cup, softened, for frosting): Helps achieve a creamy, spreadable chocolate frosting.
- Powdered sugar (2 1/2 cups for frosting): Sweetens and thickens the frosting for an indulgent finish.
- Milk (1/4 cup for frosting): Lightens the frosting and gives it that perfect silky texture.
- Rainbow sprinkles: The fun, colorful topping that makes these brownies feel like a celebration in every bite.
How to Make Lunch Lady Brownies Recipe
Step 1: Getting Ready
Start by preheating your oven to 350°F (175°C). Then grease your baking pan—either a 10×15-inch jelly roll pan or a classic 9×13-inch pan works wonderfully for this recipe. Prepping the pan well ensures the brownies won’t stick and are easy to remove after baking.
Step 2: Mixing the Batter
In a large bowl, whisk together the melted butter, vegetable oil, and first 1/2 cup of unsweetened cocoa powder until smooth. This combination creates the deep chocolate base. Next, stir in the salt, flour, granulated sugar, and dark brown sugar until everything is lightly combined. Finally, whisk in the eggs and vanilla until you have a glossy, rich batter ready to spread into your prepared pan.
Step 3: Baking the Brownies
Pour the batter evenly into your greased pan. The type of pan you choose influences the bake time slightly—jelly roll pans usually bake faster, around 15 to 20 minutes, while the thicker 9×13 pans need about 25 to 30 minutes. Keep an eye on the brownies and look for a matte, bubbly surface and a bouncy center when touched lightly. That’s your signal that they’re perfectly baked.
Step 4: Making the Chocolate Frosting
While the brownies are still warm from the oven, let’s whip up that dreamy frosting. Using a hand or stand mixer with the paddle attachment, beat together the softened butter, pinch of salt, and the remaining 1/4 cup cocoa powder. Gradually add the powdered sugar one cup at a time, mixing well after each addition. Then pour in the milk and vanilla extract, beating until the frosting is light, fluffy, and spreadable. Immediately spread it over the warm brownies to let the frosting soften into the cake beautifully.
Step 5: The Finishing Touch
Right after frosting, shower the top with those cheerful rainbow sprinkles. This simple step turns your precious brownies into a joyful celebration. Allow the whole pan to cool completely before slicing into 24 pieces and sharing the deliciousness.
How to Serve Lunch Lady Brownies Recipe

Garnishes
While the rainbow sprinkles are iconic for the Lunch Lady Brownies Recipe, you can also add a dusting of powdered sugar or even a drizzle of melted white chocolate for extra flair. Fresh berries or a scoop of vanilla ice cream on the side can elevate presentation while balancing the rich chocolate flavor.
Side Dishes
These brownies pair wonderfully with a tall glass of cold milk or a warm cup of coffee or tea. For a party, consider serving them alongside fresh fruit platters or lightly whipped cream to offer a contrast in texture and flavor.
Creative Ways to Present
Want to impress? Cut the brownies into fun shapes with cookie cutters or layer them with whipped cream and strawberries to create a shortcake-style dessert. For a festive touch, serve them on colorful plates or wrap individual squares in parchment and tie with twine for delightful gifts.
Make Ahead and Storage
Storing Leftovers
After enjoying a few pieces, store any leftover brownies in an airtight container at room temperature for up to 4 days to maintain their moist texture. Keeping them sealed prevents drying out and preserves that fresh-baked taste.
Freezing
If you want to keep the brownies longer, wrap them tightly in plastic wrap and then foil before freezing. They hold up beautifully for up to 3 months. When ready to enjoy, thaw overnight in the refrigerator for best texture.
Reheating
For a freshly baked feel, warm individual brownies in the microwave for about 10 to 15 seconds. If frozen, allow to thaw first, then gently reheat to enjoy that gooey, melty chocolate experience. Avoid overheating, or you risk drying them out.
FAQs
Can I use a different type of cocoa powder for this recipe?
Absolutely! Both natural and Dutch-processed cocoa powders work well here, though Dutch-processed will give a smoother, less acidic taste. Just ensure you use unsweetened cocoa powder for the best chocolate flavor.
Is it necessary to use both granulated and brown sugar?
Using both adds layers of flavor and moisture. Granulated sugar helps create a crisp surface, while dark brown sugar adds that subtle molasses richness and chewy texture, making these brownies extra special.
Can I make these brownies gluten-free?
You can substitute the all-purpose flour with a gluten-free all-purpose blend, but results may vary slightly in texture. Be sure your flour blend includes xanthan gum for the best structure.
What if I don’t have rainbow sprinkles? Can I use something else?
Definitely! Chopped nuts, mini chocolate chips, or even crushed candy canes (in season) make fantastic alternative toppings that add texture and flavor.
Why does the recipe call for two types of butter?
The melted butter in the batter blends smoothly with the oil to keep brownies moist, while the softened butter in the frosting helps achieve that creamy, fluffy texture necessary for spreading and that classic, luscious topping.
Final Thoughts
There is something truly comforting about the Lunch Lady Brownies Recipe that warms both the heart and the home. This recipe is an easy, rewarding way to make brownies that capture a little bit of school-day magic with a big burst of chocolate happiness. I encourage you to bake a batch, share it with friends or family, and savor the smiles that inevitably follow every sweet, colorful bite.
Print
Lunch Lady Brownies Recipe
- Total Time: 40 minutes
- Yield: 24 servings
Description
These Lunch Lady Brownies are a nostalgic treat featuring a rich, fudgy brownie base topped with a smooth, chocolate frosting and colorful rainbow sprinkles. Made with a combination of melted butter and vegetable oil for extra moistness, these brownies bake up perfectly soft and chewy with a glossy, bouncy center. The chocolate frosting is whipped up right after baking ensuring it melts slightly into the brownies for an irresistible finish.
Ingredients
Brownie Batter
- 1 cup (220g) unsalted butter, melted
- 2 tbsp vegetable oil
- 1/2 cup (50g) unsweetened cocoa powder
- 1/2 tsp salt
- 2 cups (265g) all purpose flour
- 1 cup (200g) granulated sugar
- 1 cup (200g) dark brown sugar, packed
- 4 large eggs, room temperature
- 1 tbsp vanilla extract
Chocolate Frosting
- 1/4 cup (55g) unsalted butter, softened
- Pinch of salt
- 1/4 cup (25g) unsweetened cocoa powder
- 2 1/2 cups (270g) powdered sugar
- 1/4 cup (55g) milk
- 1 tsp vanilla extract
- Rainbow sprinkles, for topping
Instructions
- Preheat and prepare pan: Preheat your oven to 350°F (175°C). Grease a 10×15-inch jelly roll pan or a 9×13-inch baking pan to prevent sticking.
- Mix wet ingredients with cocoa: In a large bowl, whisk together the melted butter, vegetable oil, and unsweetened cocoa powder until well combined and smooth.
- Add dry ingredients and sugars: Stir in the salt, all-purpose flour, granulated sugar, and packed dark brown sugar until all ingredients are evenly incorporated into the batter.
- Incorporate eggs and vanilla: Whisk in the eggs, one at a time, and then add the vanilla extract, mixing until the batter is smooth and uniform.
- Pour and spread batter: Pour the brownie batter into the prepared pan and spread it out evenly, ensuring the surface is level.
- Bake the brownies: Bake in the preheated oven; if using the jelly roll pan, bake for 15-20 minutes, or if using the 9×13-inch pan, bake for 25-30 minutes. The brownies are done when the surface looks matte and bubbly and the center feels bouncy to the touch.
- Prepare the frosting: Immediately after removing the brownies from the oven, prepare the frosting by mixing the softened butter, a pinch of salt, and cocoa powder in a bowl using a hand mixer or stand mixer with a paddle attachment.
- Add powdered sugar and liquids: Gradually mix in the powdered sugar, one cup at a time, then add the milk and vanilla extract. Continue mixing until the frosting is smooth and creamy.
- Frost and decorate: Spread the chocolate frosting evenly over the warm brownies. Sprinkle rainbow sprinkles on top to add a festive touch.
- Cool and serve: Allow the brownies to cool completely before slicing them into pieces and serving to enjoy the classic lunch lady-inspired treat.
Notes
- Use room temperature eggs to ensure better incorporation and a smoother batter.
- For a richer chocolate flavor, use a high-quality unsweetened cocoa powder.
- Make sure not to overbake the brownies; the center should still be soft and bouncy for the best fudgy texture.
- Once frosted, cool completely to help the frosting set well and prevent it from sliding off when slicing.
- Store brownies in an airtight container at room temperature for up to 3 days or refrigerate for up to a week.
- Prep Time: 15 minutes
- Cook Time: 25 minutes
- Category: Dessert
- Method: Baking
- Cuisine: American