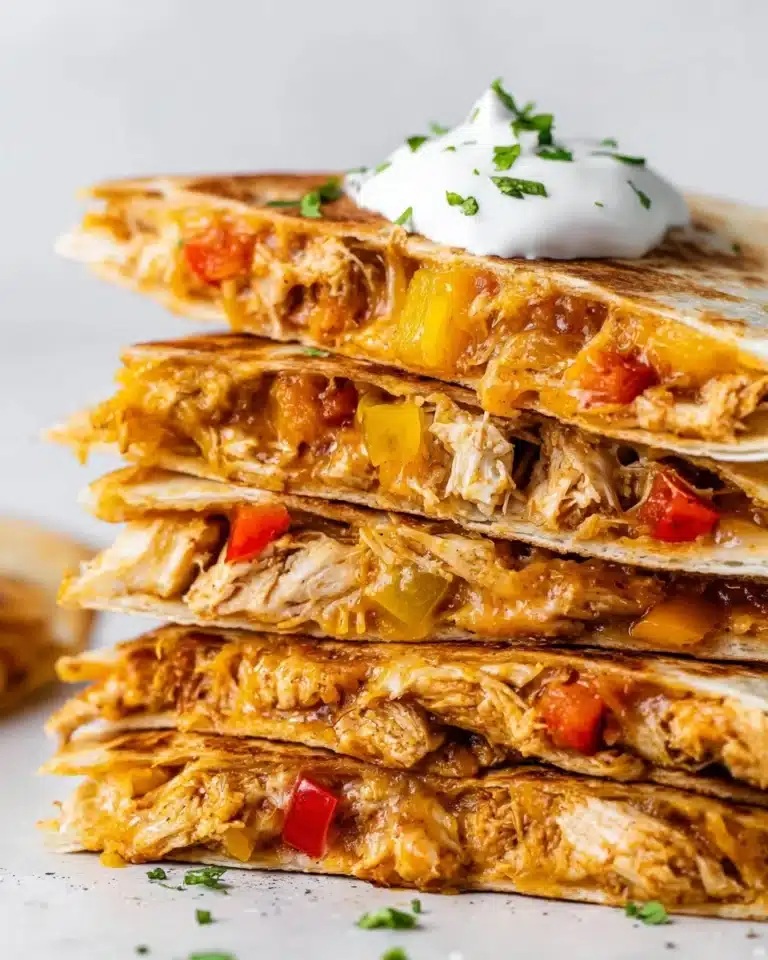
If you love the idea of having a quick, delicious meal ready whenever hunger strikes, then this Freezer-Ready Mini Pizzas Recipe is going to become your new best friend. These bite-sized pizzas are wonderfully customizable, packed with melty mozzarella and vibrant veggies, and perfect for freezing ahead so you can enjoy a warm, cheesy treat anytime. Whether you’re feeding a crowd or just looking for an easy snack that requires no fuss, these mini pizzas deliver big flavor with so little prep.
Ingredients You’ll Need

Every great recipe starts with simple, quality ingredients that harmonize perfectly to create that irresistible pizza you crave. For this Freezer-Ready Mini Pizzas Recipe, each ingredient plays a vital role, from providing the base texture to packing in fresh flavor and gooey goodness.
- English Muffins: They serve as the perfect mini pizza crust—crispy on the outside, tender on the inside.
- Pizza Sauce: This brings zesty and tangy tomato flavor, essential for punchy taste in every bite.
- Shredded Mozzarella: The melty cheese that makes the pizza irresistibly gooey and comforting.
- Salad Bar Vegetables: A mix of fresh, finely chopped veggies that add color, crunch, and nutritious vibes.
How to Make Freezer-Ready Mini Pizzas Recipe
Step 1: Prep Your Pizzas
Start by lining your baking sheets with foil or parchment to make cleanup a breeze. Split open the English muffins and place them cut side up on the sheets. This creates a sturdy but tender base that crisps beautifully when baked.
Step 2: Saucing and Cheese
Spread about one tablespoon of pizza sauce evenly over each English muffin half. Then, sprinkle approximately two tablespoons of shredded mozzarella on top. This layer sets the foundation for that classic pizza flavor you’re aiming for.
Step 3: Add Those Veggies
Take your salad bar vegetables and chop them finely to ensure they adhere nicely to the cheese and don’t overwhelm any single bite. Divide them evenly, pressing lightly to tuck the toppings in place—this little trick helps your mini pizzas freeze up neatly without toppings sliding off.
Step 4: Freeze Your Masterpieces
Cover your prepared baking sheets tightly with plastic wrap to protect the pizzas from freezer burn. Pop them into the freezer and let them chill for about eight hours until they become solid, perfect for long-term storage.
Step 5: Store and Bake
Once frozen solid, carefully remove the pizzas from the sheets and stack them inside gallon-sized freezer bags for easy storage. When it’s pizza time, remove as many as you want, let them thaw slightly while your oven heats to 400°F, then bake for about 15 minutes until the cheese is melty and the edges are golden brown.
How to Serve Freezer-Ready Mini Pizzas Recipe

Garnishes
These mini pizzas shine on their own, but a fresh sprinkle of chopped basil or a pinch of red pepper flakes can elevate each bite with an added layer of brightness or heat. A drizzle of olive oil or a dusting of Parmesan also complements the cheese beautifully.
Side Dishes
Pair your mini pizzas with a crisp green salad, carrot sticks, or even a cup of warm soup for a cozy, balanced meal. The freshness of the sides cuts through the rich cheese, making every mouthful satisfying without feeling heavy.
Creative Ways to Present
For parties or kids’ lunches, arrange your mini pizzas on a colorful platter with small bowls of dipping sauces like ranch, marinara, or garlic butter. This turns mealtime into a fun, interactive experience everyone will love.
Make Ahead and Storage
Storing Leftovers
If you have any pizza leftovers after a meal, store them in an airtight container in the fridge for up to three days. To preserve the best texture, separate layers with parchment paper.
Freezing
The beauty of this Freezer-Ready Mini Pizzas Recipe is how well it freezes. Secure them in freezer bags or containers and keep them frozen for up to three months without losing their flavor or texture, so you’re always just moments away from pizza bliss.
Reheating
For a deliciously fresh taste, reheat your frozen mini pizzas in a preheated oven at 400°F. Let them thaw partially while the oven warms, then bake until bubbling and golden, which usually takes around 15 minutes. This method ensures that crispy crust and melty cheese you expect.
FAQs
Can I use other types of bread instead of English muffins?
Absolutely! While English muffins are perfect for their texture and size, you can also experiment with bagels, pita bread, or small naan rounds to create your mini pizzas.
What vegetables work best for topping these mini pizzas?
Choose vegetables that finely chop well and aren’t too watery to prevent sogginess. Bell peppers, mushrooms, onions, and spinach work wonderfully for added flavor and texture.
Is this recipe kid-friendly?
Definitely! The mini size makes them perfect for small hands, and customizing toppings lets picky eaters enjoy pizza their way.
Do I need to thaw the pizzas completely before baking?
No need to thaw fully; letting them sit out for about seven minutes as your oven preheats is perfect. This partial thaw helps them bake evenly without becoming mushy.
Can I make a large batch at once for freezing?
You can! Just prepare your pizzas on baking sheets in batches and freeze them overnight before transferring to storage bags. This makes meal prep super efficient.
Final Thoughts
With so much versatility and ease, this Freezer-Ready Mini Pizzas Recipe has everything you need for fuss-free, tasty meals that feel homemade and hearty every time. Give it a try and watch how these delightful little pizzas become a staple in your freezer and your heart.
Print
Freezer-Ready Mini Pizzas Recipe
- Total Time: 8 hours 30 minutes
- Yield: 12 mini pizzas
Description
These Freezer Ready Mini Pizzas are a quick and convenient homemade meal perfect for busy days. Using English muffins as the base, topped with pizza sauce, shredded mozzarella, and finely chopped salad bar vegetables, they freeze well and bake up crisp and melty in just minutes. Ideal for easy lunches or snacks, these mini pizzas can be prepared in advance, frozen, and baked anytime for a delicious, customizable treat.
Ingredients
Base
- 6 English Muffins ($1.99)
Toppings
- 3/4 cup pizza sauce ($0.65)
- 1.5 cups shredded mozzarella ($1.50)
- Salad Bar Vegetables, finely chopped ($1.17)
Instructions
- Prepare baking sheets: Line two small baking sheets with foil or parchment paper to prevent sticking and allow easy cleanup. You may prepare one sheet at a time if preferred, freezing the second batch the following day.
- Assemble mini pizzas: Slice the English muffins open and arrange them cut side up on the baking sheets. Spread about 1 tablespoon of pizza sauce evenly over each muffin half, then sprinkle approximately 2 tablespoons of shredded mozzarella on top.
- Add vegetables and freeze: Chop salad bar vegetables into very small pieces to distribute evenly. Divide them among the pizzas, pressing lightly to help compact toppings so they stay in place while freezing. Cover the baking sheets tightly with plastic wrap and freeze for about 8 hours until the pizzas are solid.
- Store pizzas: Once frozen solid, carefully transfer the mini pizzas into gallon-sized freezer bags for long-term storage, using two bags if needed. For optimal flavor and quality, consume within 3 months.
- Bake from frozen: When ready to eat, remove desired number of pizzas and place them on a baking sheet. Allow to partially thaw while preheating the oven to 400ºF (about 7 minutes). Once fully preheated, bake the pizzas for about 15 minutes or until edges are golden brown and cheese is melted. Adjust baking time based on oven performance and topping quantity.
Notes
- Feel free to customize the toppings with your favorite vegetables or meats.
- Using parchment paper makes cleanup easier and prevents sticking.
- Partial thawing before baking ensures even cooking and a crisp crust.
- Store pizzas separately to avoid sticking together in the freezer.
- Check pizzas halfway through baking and rotate the pan if necessary for even browning.
- Prep Time: 15 minutes
- Cook Time: 15 minutes
- Category: Snack
- Method: Baking
- Cuisine: American