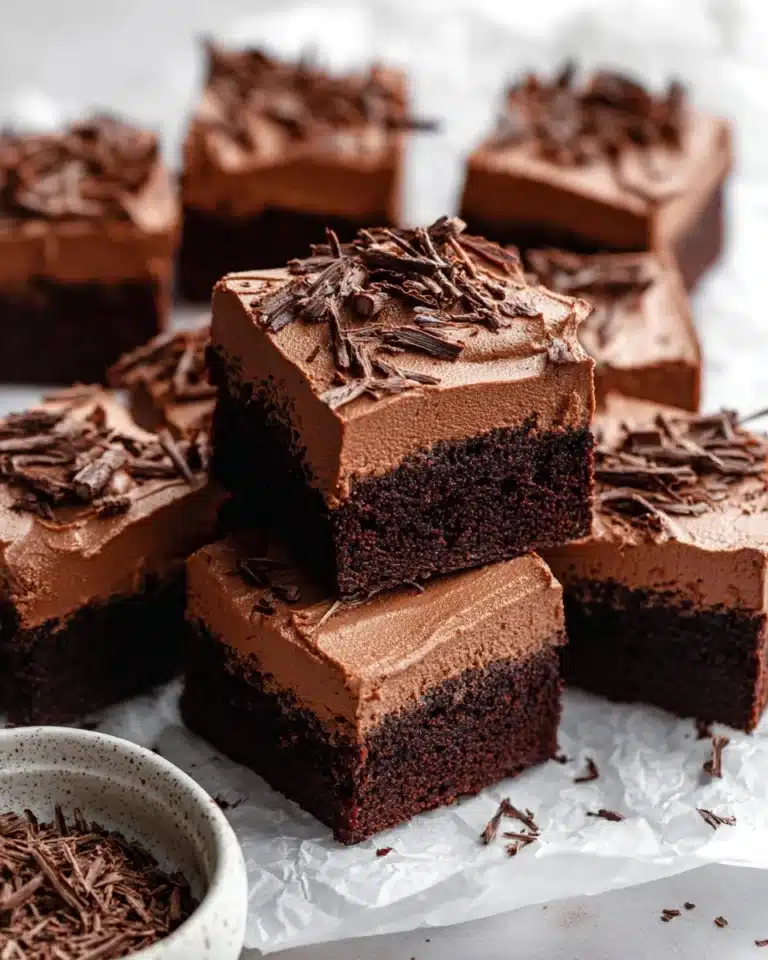
If you are on the lookout for a snack that perfectly blends crunch, sweetness, and a touch of indulgence, then this Dark Chocolate Nut Bars with Puffed Rice Recipe is going to become your new obsession. These bars deliver nutty richness, crispy puffed rice texture, and the bittersweet flair of dark chocolate in every bite. They are elegantly simple yet so satisfying, making them a fantastic homemade treat that’s perfect for snacking, gifting, or just brightening up your day with a wholesome energy boost.
Ingredients You’ll Need

This recipe shines through its straightforward yet essential ingredients. Each one plays a vital role—from the variety of nuts offering crunch and depth, to the puffed rice lending an irresistible light crispness, and the dark chocolate adding that indulgent finishing touch. With these pantry staples, you can create something truly special.
- 2 1/2 cups unsalted nuts: A mix of cashews, peanuts, and almonds gives a complex, toasted nutty base for the bars.
- 1/2 cup puffed rice: Adds a delicate, airy crunch that balances the heaviness of the nuts perfectly.
- 1/4 cup brown rice syrup: Acts as a natural, sticky sweetener to hold the bars together without overpowering.
- 1 1/2 teaspoons vanilla extract: Boosts flavor depth and adds warmth to the bars’ profile.
- 1/2 teaspoon sea salt: Enhances all the flavors and provides that subtle savory contrast.
- 1 cup dark chocolate chips: Offers rich, bittersweet chocolate goodness that pairs beautifully with the nuts.
- 2 teaspoons coconut oil: Helps melt and smooth the chocolate for perfect dipping and drizzling.
- Optional: flaky salt for topping: Adds a finishing touch of crunch and a burst of salty flavor on top.
How to Make Dark Chocolate Nut Bars with Puffed Rice Recipe
Step 1: Toast the Nuts
First things first, preheat your oven to 325˚F (160˚C). Spread your mixed nuts in a single layer on a rimmed baking sheet. Toasting them for 5 to 8 minutes not only deepens their flavor but also makes them wonderfully fragrant and crunchy. Keep an eye on them to prevent burning. This step is key for bringing out the rich nuttiness the bars depend on.
Step 2: Prepare the Pan
Line an 8×8-inch pan with parchment paper to ensure your bars will lift out easily once set. This simple prep makes cleanup a breeze and maintains the bars’ shape perfectly.
Step 3: Combine Nuts and Puffed Rice
In a large bowl, toss the toasted nuts with the puffed rice. This creates the signature texture mix of your bars: crunchy, airy, and substantial all at once. Mixing before adding the syrup ensures every bite has the perfect ratio of ingredients.
Step 4: Sweeten and Bind
Warm the brown rice syrup for about 30 seconds in the microwave. Warming it softens the syrup and makes it easier to stir in the vanilla extract and salt, which add layers of flavor. Pour this glossy mixture over the nut and puffed rice blend, stirring well until everything is coated. This sticky mix is what holds your bars together as they bake and cool.
Step 5: Press and Bake
Transfer your mixture into the prepared pan. Press it down firmly and evenly — this step is crucial for the bars to hold their shape. Bake for 18 to 20 minutes. The bars will set further as they cool, but baking gives them a slight golden edge and melds the flavors beautifully.
Step 6: Let Cool and Cut
After baking, allow the pan to cool on a rack for around 30 minutes. Once cooled slightly but still warm, turn out the bars onto a cutting board. Cut lengthwise in half and then slice each half into 5 or 6 slender bars to achieve that perfect snackable size. Cool these bars completely before moving on to the chocolate step.
Step 7: Chocolate Dipping and Drizzling
Melt the dark chocolate chips and coconut oil together in 30-second increments in the microwave, stirring well between each, until smooth and luscious. Dip the bottom of each bar into the melted chocolate, then place them on a parchment-lined sheet. Use the remaining chocolate to drizzle over the tops, creating an elegant, glossy finish. If you love a little salty crunch, sprinkle flaky salt over the wet chocolate before chilling.
Step 8: Chill and Set
Pop the dipped bars into the fridge and let them chill until the chocolate hardens. This final chill sets the chocolate perfectly, sealing in all those divine layers of flavor and texture. Then, they’re ready for snacking, packing, or sharing!
How to Serve Dark Chocolate Nut Bars with Puffed Rice Recipe

Garnishes
A sprinkle of flaky salt really makes the chocolate pop and brings a gourmet touch to these homemade bars. You can also sprinkle some chopped nuts or a few puffed rice grains on top before the chocolate sets to add more texture and visual appeal.
Side Dishes
These bars are fantastic on their own as a wholesome snack, but they also pair beautifully with a cup of rich coffee or a frothy latte. For a lighter twist, serve alongside fresh fruit slices or a dollop of Greek yogurt to balance the sweetness and add a refreshing note.
Creative Ways to Present
Consider wrapping individual bars in parchment paper tied with twine for stylish gift-giving. Alternatively, stack them in a decorative tin or arrange them on a wooden board surrounded by nuts and cocoa nibs for an impressive homemade dessert platter that is sure to wow guests.
Make Ahead and Storage
Storing Leftovers
Store any leftover bars in an airtight container at room temperature for up to a week. Keep them cool and dry to maintain their crunch and prevent the chocolate from melting. If your kitchen is warm, refrigeration is a good idea to preserve their texture.
Freezing
These bars freeze beautifully. Wrap them individually in plastic wrap and store in a freezer-safe bag for up to three months. When you’re ready to enjoy, just thaw them in the fridge overnight or at room temperature for a couple of hours.
Reheating
Since these are bars best served chilled or at room temperature, reheating isn’t typically necessary. If you prefer a slightly softer chocolate texture, allow them to sit at room temperature for 10-15 minutes before eating or microwave briefly in short bursts to avoid melting the chocolate completely.
FAQs
Can I use other types of nuts in this recipe?
Absolutely! Feel free to substitute with walnuts, pecans, pistachios, or any nuts you prefer. Just keep the total volume the same to maintain the bar’s texture and structure.
Is brown rice syrup necessary, or can I use honey or maple syrup?
Brown rice syrup works well because it’s thick and mild-flavored, helping the bars stick together nicely without overpowering the nutty notes. Honey or maple syrup can be used, but the texture and sweetness level might alter slightly.
Can I make these bars vegan?
This recipe is naturally vegan as long as you check your chocolate chips and vanilla extract for any animal-derived ingredients. Using dairy-free chocolate chips will keep these bars perfectly plant-based.
How crunchy are the bars with puffed rice?
The puffed rice adds a light, crispy element that contrasts beautifully with the toasted nuts, making the bars crunchy but not overly dense. It keeps every bite lively and satisfying.
What if I don’t have coconut oil for the chocolate?
If you don’t have coconut oil on hand, you can melt the chocolate chips alone, but the coconut oil helps create a smoother coating that’s easier to dip and drizzle. Vegetable oil or a neutral oil could be a substitute, though the flavor may differ slightly.
Final Thoughts
I hope you’re as excited as I am to make these Dark Chocolate Nut Bars with Puffed Rice Recipe your next go-to treat. They’re simple to whip up, totally luscious, and incredibly satisfying. Whether for a midday snack, a hiking companion, or a thoughtful gift, these bars never fail to impress. Give them a try and watch how fast they disappear!
Print
Dark Chocolate Nut Bars with Puffed Rice Recipe
- Total Time: 1 hour 15 minutes
- Yield: 10 servings
- Diet: Vegetarian
Description
These decadent Dark Chocolate Bars combine toasted nuts, puffed rice, and a hint of brown rice syrup, all topped with rich melted dark chocolate and a sprinkle of flaky salt. Perfectly crunchy and sweet, these bars make a delightful homemade treat that’s sure to satisfy chocolate lovers while providing a satisfying nutty crunch.
Ingredients
Nuts and Dry Ingredients
- 3/4 cup cashews
- 3/4 cup peanuts
- 1 cup almonds
- 1/2 cup puffed rice
Syrup and Flavorings
- 1/4 cup brown rice syrup
- 1 1/2 teaspoon vanilla extract
- 1/2 teaspoon sea salt
Chocolate Coating
- 1 cup dark chocolate chips
- 2 teaspoons coconut oil
- Optional: flaky salt for topping
Instructions
- Preheat and Toast Nuts: Preheat your oven to 325˚F (160˚C). Spread the mixed nuts evenly on a rimmed baking sheet. Toast them in the oven for 5-8 minutes until they become fragrant and lightly browned, enhancing their natural flavors.
- Prepare the Pan: Line an 8×8-inch baking pan with parchment paper and set aside to ensure easy removal of the bars later.
- Mix Nuts and Puffed Rice: In a large mixing bowl, combine the toasted nuts and puffed rice. Toss thoroughly to blend the ingredients evenly.
- Warm Syrup and Combine: Place the brown rice syrup into a microwave-safe bowl and heat for 30 seconds to loosen it. Whisk in the vanilla extract and sea salt until fully integrated, then pour this mixture over the nut and rice mixture. Stir well to coat every piece evenly.
- Press and Bake: Transfer the coated mixture into the prepared pan and press it down evenly to form a compact layer. Bake this mixture in the preheated oven for 18-20 minutes to set and slightly caramelize the syrup.
- Cool and Slice: Remove the baked mixture from the oven and let it cool for about 30 minutes. Transfer to a cutting board, cut in half lengthwise, then slice each half into 5-6 thin bars. Allow the bars to cool completely to firm up.
- Melt Chocolate: In a microwave-safe bowl, combine the dark chocolate chips and coconut oil. Microwave in 30-second intervals, stirring between each session, until the chocolate is fully melted and smooth.
- Coat Bars with Chocolate: Dip the bottom of each cooled bar into the melted chocolate, then place the bars on a parchment-lined baking sheet. Drizzle more melted chocolate over the top of each bar and sprinkle with flaky salt if desired.
- Set the Chocolate: Refrigerate the chocolate-coated bars until the chocolate is completely set and firm. Enjoy your homemade dark chocolate nut bars as a delicious snack or dessert!
Notes
- Use any combination of your favorite unsalted nuts for customization.
- Brown rice syrup provides a natural, mild sweetness; substitute with honey or maple syrup if preferred.
- Ensure to toast nuts lightly to bring out their flavor without burning.
- Keep an eye on the chocolate while melting to avoid scorching.
- Flaky salt is optional but adds a great contrast to the sweetness and deepens the chocolate flavor.
- Store bars in an airtight container in the refrigerator for up to one week.
- Prep Time: 20 minutes
- Cook Time: 30 minutes
- Category: Dessert, Snack
- Method: Baking
- Cuisine: American